Intro
Time for another stupid project, which adds no value to the humanity! This time I got my hands on one of these dirt-cheap analog joysticks on ebay that cost less than €1.5. I guess that you can make a lot of projects with them by using them as normal joysticks, but for some reason I wanted to do something more pointless than that. And that was to make a joystick that outputs gestures via USB.
By gestures I mean, that instead of sending the ADCs in realtime, instead support only the basic directions like up, down, left, right and button press and then send the gesture combinations through USB. If you’re using mouse gestures to your web browser, then you know what I mean.
OK, let’s see the components and result.
Components
STM32
I’m using a stm32f103c8t6 board. These modules cost less than €2 in ebay and you may have already seen me using them also in other stupid projects.

Joystick
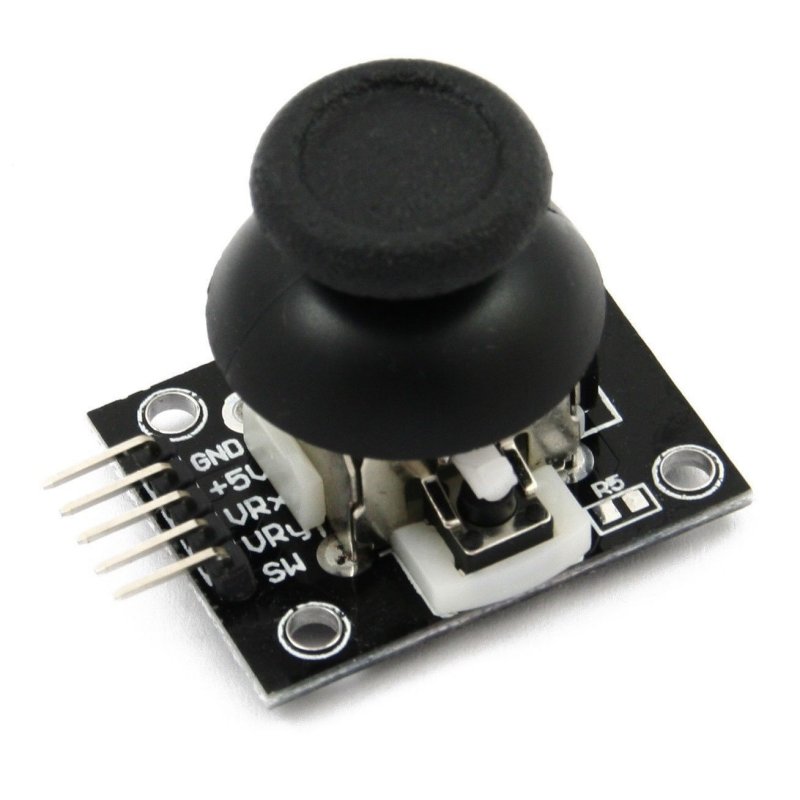
You can find those joysticks in ebay if you search for a joystick breakout for arduino. Although they’re cheap the quality is really nice and also the stick feeling is nice, too. This is how it looks like

As you can see from the image there is +5V pin, which of course you need to connect to your micro-controller’s (the stm32 in this case) Vcc; which 3V3 and not only to +5V. The VRxpin it the x-axis variable resistor, the VRyis the y-axis variable resistor and the SWis the button. The switch output is activated if you press the joystick down. The orientation of the x,y axis is valid when you place the joystick to your palm while you can read the pin descriptions.
ST-Link
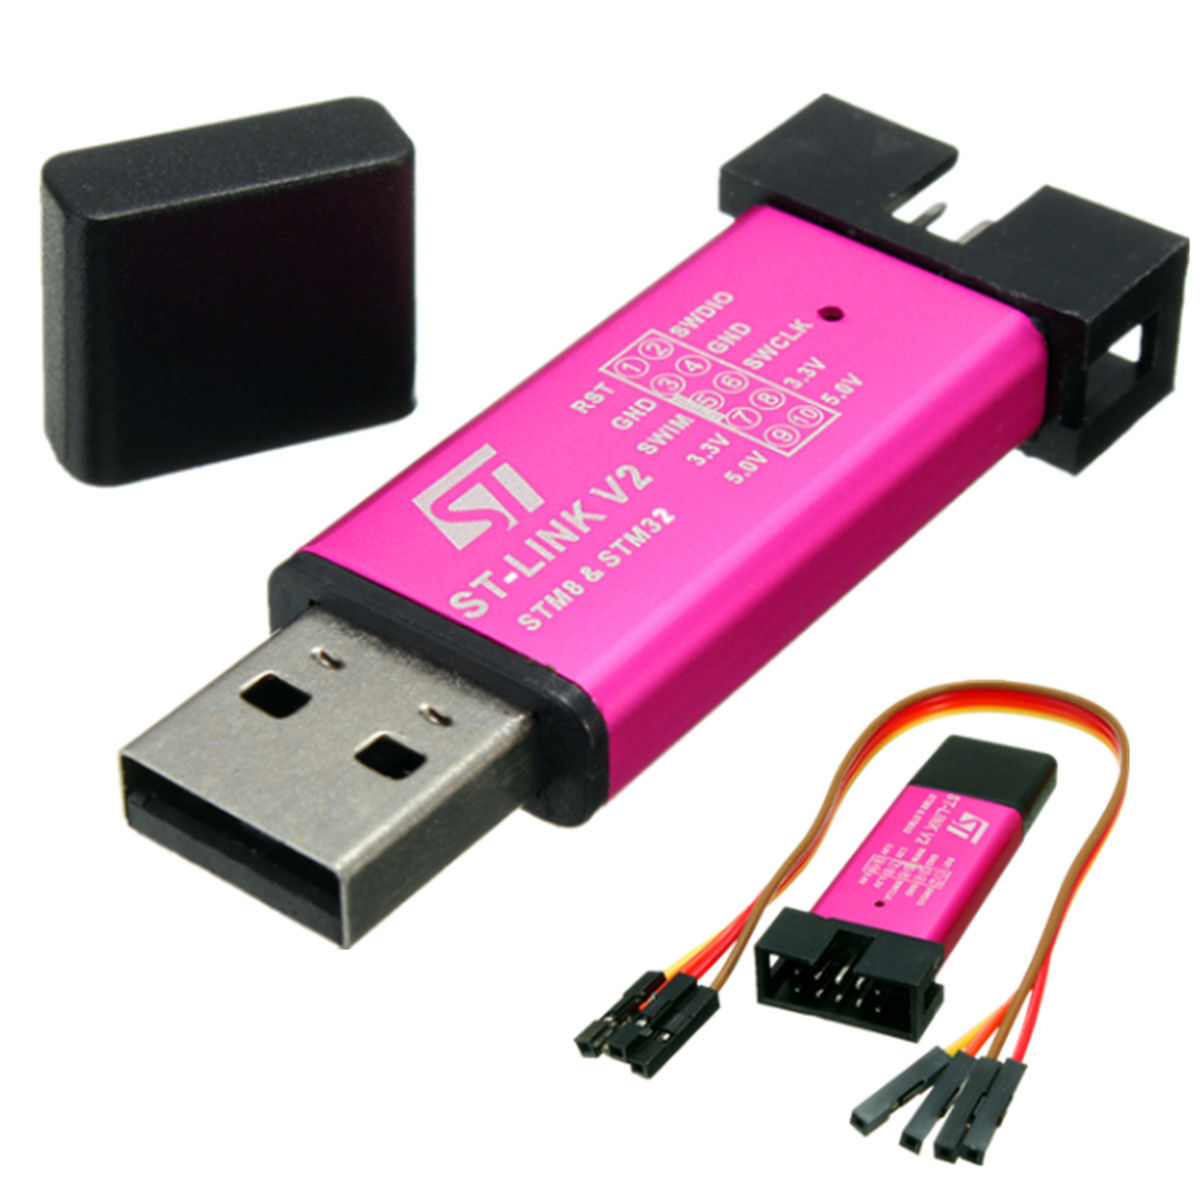
Finally, you need an ST-Link programmer to upload the firmware, like this one:

Or whatever programmer you like to use.
USB-uart module
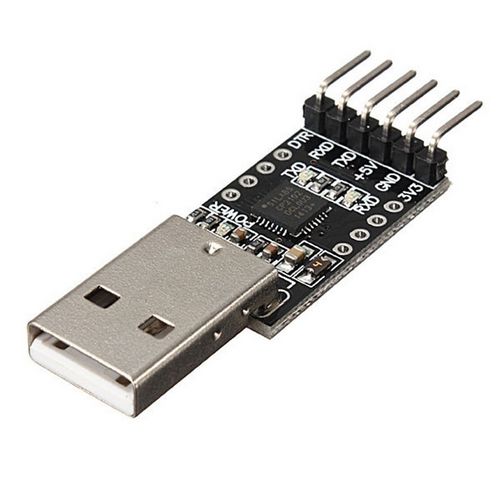
You don’t really need this for the project, but if you like to debug or add some debugging message your own, then you’ll need this. You can find these on ebay with less than€1.50 and it looks like that

Making the stupid project
I’ve build the project on a breadboard. You can use a prototype breadboard if you want to make this a permanent board. I’ve added support for both USB and UART in the project. The USB, of course, is the easiest and preferred way to connect the device to your computer, but the UART port can be used for debugging. So, let’s start with a simple schematic of how everything is connected. This a screenshot from KiCad.

Therefore, the PA0 and PA1 are connected to VRxand VRyand they are set as ADC inputs. In the source code I’m using both ADC1and ADC2channels at the same time. The ADC1channel is also using DMA, which is not really necessary as the conversion rate doesn’t need to be that fast, but I’m re-using code that I’ve already written for other projects. The setup of the ADCs is in the hw_config.cfile in the source code. The ADCs are continuously convert the VRxand VRyinputs in the background as they are based on interrupts, but only every JOYS_UPDATE_TMR_MSmilliseconds the function joys_update()updates the algorithm with the last valid values. The default update rate is 10ms, but you can trim it down to 1ms if you like. You can also have a look in the joys_update()function in joystick.cand trim the JOYS_DEBOUNCE_CNTRand JOYS_RECOGNITION_TIME_MSto your needs. The first one controls the debounce sensitivity and the second one the timeout of the gesture. That means the time in ms that the recognition timer will expire after the joystick is released in the center position and then send the recorded gesture.
The source code can be found here:
https://github.com/dimtass/stm32f103-usb-joystick
To build the code you need cmake and to flash it you need ST-Link. Have a look in the README.md file in the repo for details. Also you need to point to your arm toolchain.
Note: Because I’m using the
-flto -O3flags, you need to make sure that you use a GCC version newer that 4.9
I’ve tested the code with this version:
1
arm-none-eabi-gcc (GNU Tools for Arm Embedded Processors 7-2017-q4-major) 7.2.1 20170904 (release) [ARM/embedded-7-branch revision 255204]
The code size is ~14.6KB.
Finally, this is an example video of how the joystick gesture performs.
Have fun!
Comments powered by Disqus.